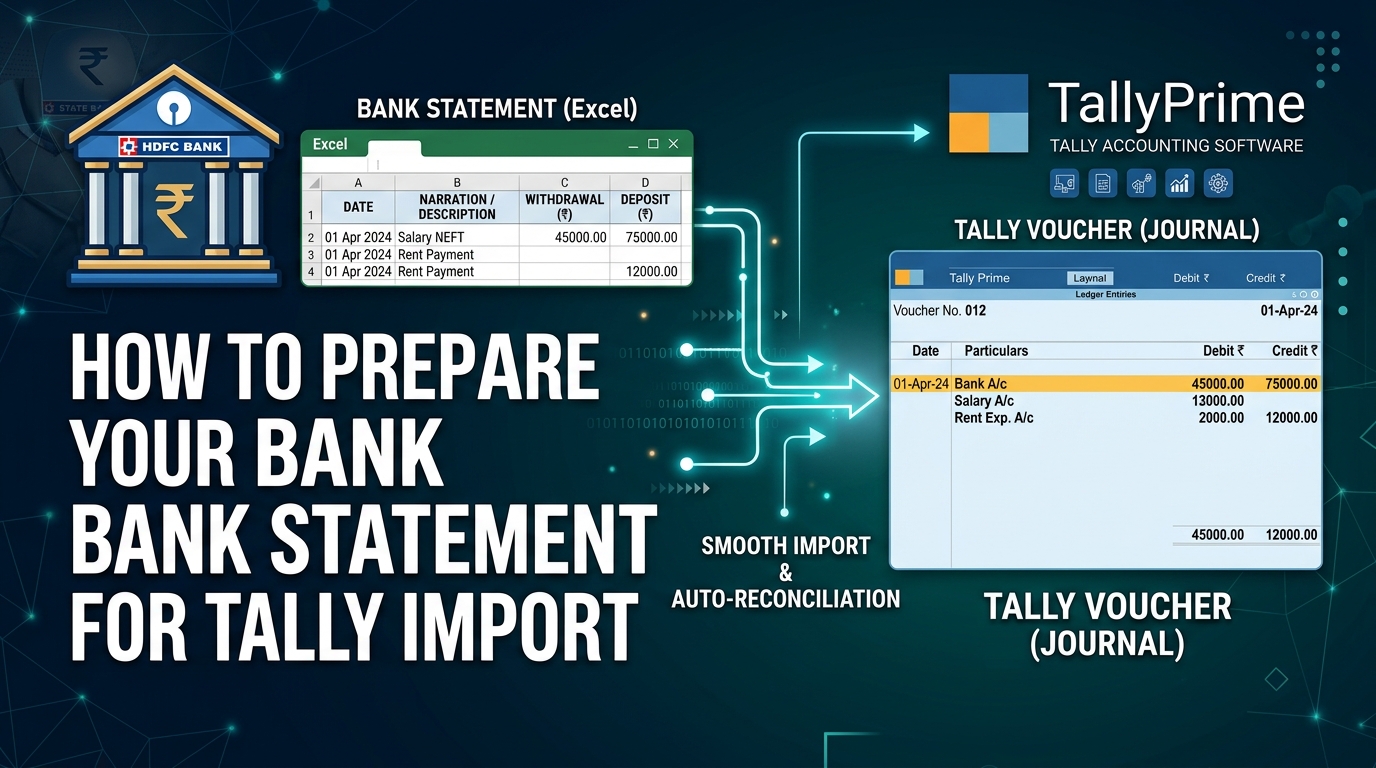
If you've tried importing a bank statement into Tally before, you know the frustrating part isn't the import itself — it's getting the data into the right format. Banks give you a CSV or Excel export that looks reasonable until you open it, and then you see five header rows, merged cells, a "Balance" column that Tally doesn't care about, dates formatted as "10 Oct 2026" instead of something parseable, and withdrawal/deposit amounts in a single "Amount" column with Cr/Dr suffixes.
None of that is directly usable. You need to clean it up first. This guide walks through exactly what to do — for both the manual cleanup process and how to structure the file for our Bank Statement to Tally XML converter.
📋 In this guide:
- 1. What Tally Actually Needs from a Bank Statement
- 2. The Common Problems with Bank CSV Exports
- 3. Step-by-Step Cleanup in Excel
- 4. The Date Format Problem (and How to Fix It)
- 5. Splitting Debit and Credit into Separate Columns
- 6. Cleaning Up the Narration / Transaction Description
- 7. What About the Balance Column?
- 8. FAQ
1. What Tally Actually Needs from a Bank Statement
When you import a bank statement into Tally, you're creating Payment and Receipt vouchers. Each row in your Excel sheet becomes one voucher:
- A row where money went out (withdrawal/debit) → creates a Payment voucher
- A row where money came in (deposit/credit) → creates a Receipt voucher
For each of these vouchers, Tally needs:
- Date — the transaction date in a parseable format
- Amount — the withdrawal amount OR the deposit amount (not both in the same column)
- Narration — the transaction description, visible in Day Book and printed vouchers
- Bank Ledger — the name of your bank account ledger in Tally (e.g., "SBI Current Account")
- Contra Ledger — what account the other side of the entry goes to. Usually a "Suspense" or "Bank Charges" ledger for unknown transactions
That's it. Everything else in your bank statement (running balance, branch name, bank reference numbers in the header) is irrelevant to Tally.
2. The Common Problems with Bank CSV Exports
Most Indian bank CSV exports have some combination of these issues:
Multiple header rows before the data
HDFC, ICICI, SBI, Axis — almost all of them give you 4–6 rows at the top with the account number, branch, period, and opening balance before the actual transaction data starts. These need to be deleted so that the actual column headers (Date, Narration, etc.) are in Row 1.
Debit and Credit in a single "Amount" column with a Cr/Dr suffix
Some banks format amounts like "1,500.00 Cr" or "2,000.00 Dr" in a single column. This is not a number — it's text. You need to split this into two separate columns: Withdrawal (debit) and Deposit (credit).
Dates formatted as text
"10/10/2026", "10-Oct-26", "10 Oct 2026" — these are all the same date but Excel and our converter may interpret them very differently. The safest format is DD/MM/YYYY.
Commas in amounts
Values like "1,50,000.00" look like numbers in Excel but may be stored as text. When a converter reads them as text, it sees "1" because it stops at the comma. Strip formatting and verify the column is a proper number type.
Merged or split cells in headers
Some bank PDFs converted to Excel have merged cells across column headers. Unmerge them all before working with the file.
3. Step-by-Step Cleanup in Excel
Here's the process that works for most bank statement exports:
- Open the downloaded CSV/XLS in Excel. If it's a CSV, Excel usually opens it fine. If the data appears in a single column (all in column A), use Data → Text to Columns with comma delimiter.
- Delete all rows above the actual column headers. Your target is to have Date, Narration, and Amount columns starting in Row 1 (as headers) with data from Row 2 onwards. Delete everything above that.
- Delete columns you don't need. Running Balance, Bank Reference, Cheque Number (unless you want it in the Narration) — remove them. You want a clean sheet with just the columns you'll use.
- Rename your columns to match the template: Date, Narration, Cheque No (optional), Withdrawal, Deposit. These exact names aren't required if you're using our tool (it uses smart header matching) but keeping them clear helps you spot issues.
- Verify amounts are numbers, not text. Click on a cell in the amount column. If the number shows left-aligned, it's stored as text. Select the column, go to Data → Text to Columns → Finish — this usually converts text-formatted numbers to actual numbers.
- Save as .xlsx (not CSV) before uploading to the converter. CSVs can cause date format ambiguity issues.
4. The Date Format Problem (and How to Fix It)
Dates are the most common source of silent errors in bank statement imports. The problem is that Excel has its own internal date system (serial numbers), and what you see in a cell depends on how the cell is formatted — not the actual value stored.
If your Excel locale is set to US (MM/DD/YYYY) and your bank statement dates are DD/MM/YYYY, Excel may interpret "10/03/2026" as October 3rd (American reading) instead of March 10th (Indian reading). Always look at a date in the preview table after uploading — if August vouchers are showing as dates in month 8 and a "12" date is showing as December, your dates are being read as MM/DD instead of DD/MM.
The safest approach:
- Format your date column as DD/MM/YYYY text using a helper column:
=TEXT(A2, "DD/MM/YYYY"). Copy → Paste as Values to replace the original. This removes the ambiguity entirely. - Alternatively, check the preview table in our tool after uploading. If dates look wrong, use the text formula approach above and re-upload.
5. Splitting Debit and Credit into Separate Columns
If your bank gives you a single "Amount" column with "Cr" and "Dr" suffixes, here's how to split it:
Assuming your combined column is in column C, add two new columns — D for Withdrawal and E for Deposit:
Column D (Withdrawal) — picks up "Dr" amounts:
=IF(ISNUMBER(SEARCH("Dr",C2)), VALUE(TRIM(SUBSTITUTE(SUBSTITUTE(C2,"Dr",""),",",""))), "")
Column E (Deposit) — picks up "Cr" amounts:
=IF(ISNUMBER(SEARCH("Cr",C2)), VALUE(TRIM(SUBSTITUTE(SUBSTITUTE(C2,"Cr",""),",",""))), "")
Adjust the formula based on your actual suffix format — some banks use "DR"/"CR" in caps, others use "Debit"/"Credit" in full. Copy → Paste as Values when done, then delete the original Amount column.
6. Cleaning Up the Narration
The Narration field is what appears in Tally's Day Book next to each voucher. A good narration makes it easy to reconcile and identify transactions later. Bank statements usually have useful narrations but they often need a bit of trimming:
- Remove extra whitespace:
=TRIM(B2)applied to the narration column gets rid of leading/trailing spaces and collapses multiple internal spaces to one. - Combine Narration + Cheque No: If you want the cheque number in the narration, concatenate them:
=B2&" | Chq: "&C2. This gives you something like "NEFT Transfer | Chq: 123456" in Tally's voucher notes. - Keep it under 250 characters: Tally can handle longer narrations but very long text sometimes causes display issues in printed vouchers. Most bank narrations are well within this limit.
7. What About the Balance Column?
Delete it. The running balance column in your bank statement is irrelevant to the Tally XML import — Tally calculates account balances itself from the individual debit/credit entries. Including the Balance column in your upload won't cause errors (the tool will simply ignore it if there's no matching header), but it adds unnecessary clutter to the sheet.
If you're worried about reconciliation, keep a separate copy of the original bank statement with the balance column for your records. But remove it from the sheet you're uploading to the converter.
Bank Statement to Tally XML Converter
Once your bank statement is cleaned up in Excel, paste it into our free tool. It handles the Payment/Receipt voucher logic, bank ledger assignment, and XML generation — all inside your browser, no upload to any server.
Open Bank Statement Converter →FAQ
Can I upload the bank statement PDF directly?
No — our tool accepts Excel files (.xlsx, .xls) or CSV files, not PDFs. Most banks offer a CSV or Excel download option alongside the PDF statement. If yours only provides PDF, you can use a PDF-to-Excel converter (Adobe Acrobat, Smallpdf, or ILovePDF) to get an Excel file, then do the cleanup steps above.
My bank gives a different column structure every time. Is there a standard format to use?
Download the sample template from our Bank Statement Converter page — it shows the five-column format the tool works best with: Date, Narration, Cheque No, Withdrawal, Deposit. You can paste your cleaned-up bank data into this template to make sure the column headers are recognised correctly. The tool's header matching is flexible, but using the template eliminates any ambiguity.
What ledger does the "other side" of each voucher go to?
In a bank statement import, the contra entry for most transactions goes to a "Suspense" ledger (or whatever you want to call it — "Bank Import Suspense", "Pending Allocation", etc.). After import, you go through the Day Book and manually edit each voucher to replace the Suspense ledger with the correct party or expense ledger. This is normal practice for bank statement imports — you bring the raw data in first, then allocate it. Our tool lets you set this suspense/contra ledger name in the form above the upload area.
Can I import bank statements from multiple banks in one file?
Our tool is designed for one bank account per import run — the Bank Ledger name you enter in the form applies to all rows. If you have transactions from two bank accounts, split them into two separate Excel files and run two separate imports with different bank ledger names.
The amounts have commas in them (e.g., 1,50,000) and the tool reads them as 1. How do I fix this?
This happens when Excel stores the amount as text (left-aligned in the cell) instead of a number. Select the Withdrawal and Deposit columns, go to Data → Text to Columns → Finish. This usually converts text-numbers to real numbers. Alternatively, use a helper column: =VALUE(SUBSTITUTE(A2,",","")) to strip commas and convert to a number, then paste as values over the original column.